Monday, August 4, 2014

First Grade Writing Folders--

Writing folders are a very useful tool.  It took me a long time to figure out exactly how to make them work best for me and my students.  I observed a teacher at Apple Glenn Elementary School in Arkansas and loved how she put hers together.  I used a similar folder set up but tweaked some things to make them work for me.  Take a peek!
 
My First Grade Writing Folders are made by taking a two-pocket folder and a 3-pronged folder and stapling and taping them together.  This gives a place for each stage of the writing process-- my students PHYSICALLY move their work through the process!
 
In the Prewriting section, there are some cute "What can I write about?" pictures/ideas, courtesy of Core Academy!
The Rainbow Editing is my FAVORITE! My students learn to "dot and say" each word to revise their work (they literally put a yellow dot under each word as they read it to themselves-- that way they catch missing words or words that don't belong.)
Then they mark capitals in green, periods in red.  They circle words that they are unsure about in blue.  It is such a fantastic way to teach editing to firsties! Again, thanks to Utah Core Academy for this resource!
In the prong section, I have an alphabetized list of the sight words we use at our school.  If there is a word they want, I will help them add it to their chart. :)

The last pocket is publishing.

 This example doesn't have it, but in the past, I have my students put a giant heart shape on the back-- where they have drawn all of the things they love (their families, their friends, their favorite things, etc.) When they say "I don't know what to write about!" I kindly encourage them to "Look into your heart!"
 
 
The folders are a little labor intensive.  I have parents help me as much as possible-- but some years I just put on a movie and work away! :)
 
Again, several of these great tools are from Core Academy.
If you would like the pages from this folder, click here .  Please leave a comment if you download it!

Have a SUPER day!
Sarah

Getting your First Graders started in writing!


I love first grade writing.
I know, I always LOVE everything first grade— but you can’t teach first grade if you don’t LOVE it!

Even though summer is just starting, many of us are reflecting on the past year and plotting, uh, I mean planning for the coming year.  There is always something that you want to do better—think through more—research a new approach- etc. 

If it is teaching writing in the first few weeks of school, this post is for YOU! J
This gives you 5 days of writing lessons that will guide you right into teaching the Writing Process! (Brainstorm, Draft, Write, Revise, Edit, Publish)

I always start my kiddos out with looking at a question every day, answering it to create an anchor chart, and then using the time (and topic) to introduce a center that I need them to learn anyway.

Here is the breakdown for me:
Day 1: WHY do we write?
 

(Question written on large paper)
Students do a “Think-Pair-Share” and then we make a list on the anchor chart together.  (The poster will be hung on our wall.)
Then we do an intro to our Post Office Center. (I teach them the procedure for how it works in my room—we write a letter together and then they write one to a friend/family member.)

Day 2: WHAT do we write?


(Question written on large paper)
Students do a “Think-Pair-Share” and then we make a list on the anchor chart together.  (The poster will be hung on our wall.)
Then we do an intro to Sticker Story. (Each child gets EXACTLY one sticker- this time I just give them one, later, in centers, they will get to pick their own).  We write a story together and add to the illustrations. Then they try it on their own. 

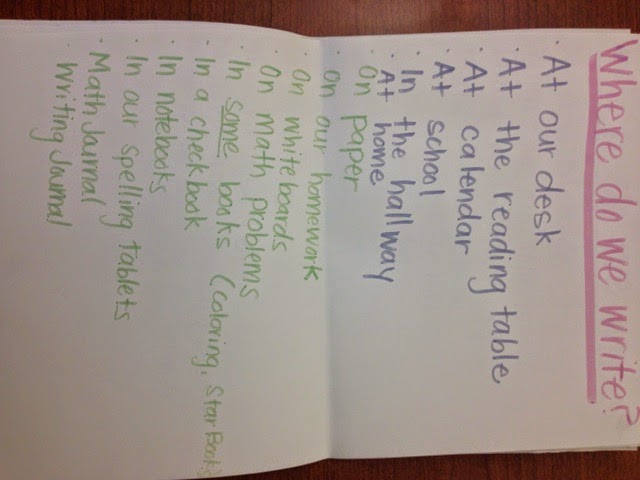
Day 3: WHERE do we write?

(Question written on large paper)
Students do a “Think-Pair-Share” and then we make a list on the anchor chart together.  (The poster will be hung on our wall.)
Then we do an intro spelling whiteboards.  (Students write their spelling words 3 times on a whiteboard.  They write it the first time by copying from their list, then they cover and write it again, check it, and repeat for the last time. The point is not just to copy without thought, but to try and create an image in their mind.)  Anyway, I model it, then they get a turn.  We practice everything from getting the materials out, actually writing our words, and then how to properly clean up.  EVERYTHING.  J

Day 4: WHEN do we write?

(Question written on large paper)
Students do a “Think-Pair-Share” and then we make a list on the anchor chart together.  (The poster will be hung on our wall.)
Then we do an intro to what we call our “Thought Spot” (it is a special notebook that they have in their desk where they can write any time, about anything.  It just allows them to have easy, uninterrupted access to paper.)  The first thing I show them to do in their Thought Spot is to write the date and do a “Squiggle Story”.  They make a squiggle on the paper. Then they turn the squiggle into a picture and write a story about it.  (THEY LOVE THIS!)

Day 5: HOW do we write?


(Question written on large paper)
This one is a little different because, while they have ideas that they will want to list, we are really going to be teaching them the writing process. Don’t get me wrong, still write their ideas down, but leave enough space to list (or draw) the stages of the writing process. 
Today we will tell them ALL of the stages, but not go into detail.  It's more about exposing them to the vocabulary so that when they hear it again, it won't be the first time.  Each stage gets its own day!
Then students have some time to write in their “Thought Spot”. 


The first thing you will notice on Day 6 is that they will want to know where the question is.  Like for real—they want to have writing always begin with an anchor chart.  Every year my kids ask for one! It is so funny!

Now it’s game time—your kids are ready to start the writing process… a week into school!

Remember, each stage of writing gets to be its own day.  Taking the time to really enjoy the stages will give your students a stronger base for the rest of the year.   I always have my class do it with me and then on their own.  It makes everything so much less stressful and more fun!

To see the plan written out, download it here.
Have a fantastic day!!
Sarah

Monday, July 7, 2014

Popcorn Adjectives!

I love popcorn!

When I saw this idea on pinterest, I decided to put a little twist on it and do it with my class.
To introduce adjectives, we discussed our senses.  This is a concept that they explore in kindergarten, so our conversation stayed pretty basic. 
I brought in an air popper.  I had my students raise their hand if they knew what it was-- I was SHOCKED that only 5 did-- that's 5 out of 27 kids! Wow.
Anyway, I had my students gather around and I explained what we were going to do.  We needed to be looking and listening for words that would tell us more, or describe, the popcorn.  I turned it on and we watched. Other than the hum of the popper,  it was silent.  They were so anxious to get started!


We watched the popcorn (and came up with a few words to describe what it looked like), we listened (and came up with a few words), then (this got them very excited!) touched it, and finally we tasted it.  Oh man! The excitement was so thick in the air-- but they were so well behaved!

Then I gave each of them some popcorn kernels on paper (just do a google search and you will find some!) and they chose their favorite adjectives from the list we had created. 


I have had these little popcorn bags in my closet for YEARS-- you know how it goes, someone gives them to you and you are sure they will be great for something--and they were perfect!  I printed a little cover to label the bag.  and gave them half a sheet of construction paper to glue it all onto.


I hope you enjoy this as much as we did!
Have a wonderful day!!
Sarah

Tuesday, June 17, 2014

Hand Turkey Writing

Turkey writing...

Yes, I know it is June.
But I have been waiting (and hoping) to share this for months! (And I have a minute right now...)

My kids LOVE all things thematic.  In November, they LOVE turkeys!
I have my kids do this as a center.  The supplies are there, they know the guidelines, and away they go!

Step 1- Trace your hand

Step 2- Color. (It works best if they color the turkey before gluing)

Step 3- Take up to (but no more than) 10 feathers.

Step 4- Write about your turkey.

Oh my goodness it is crazy how much I love these!


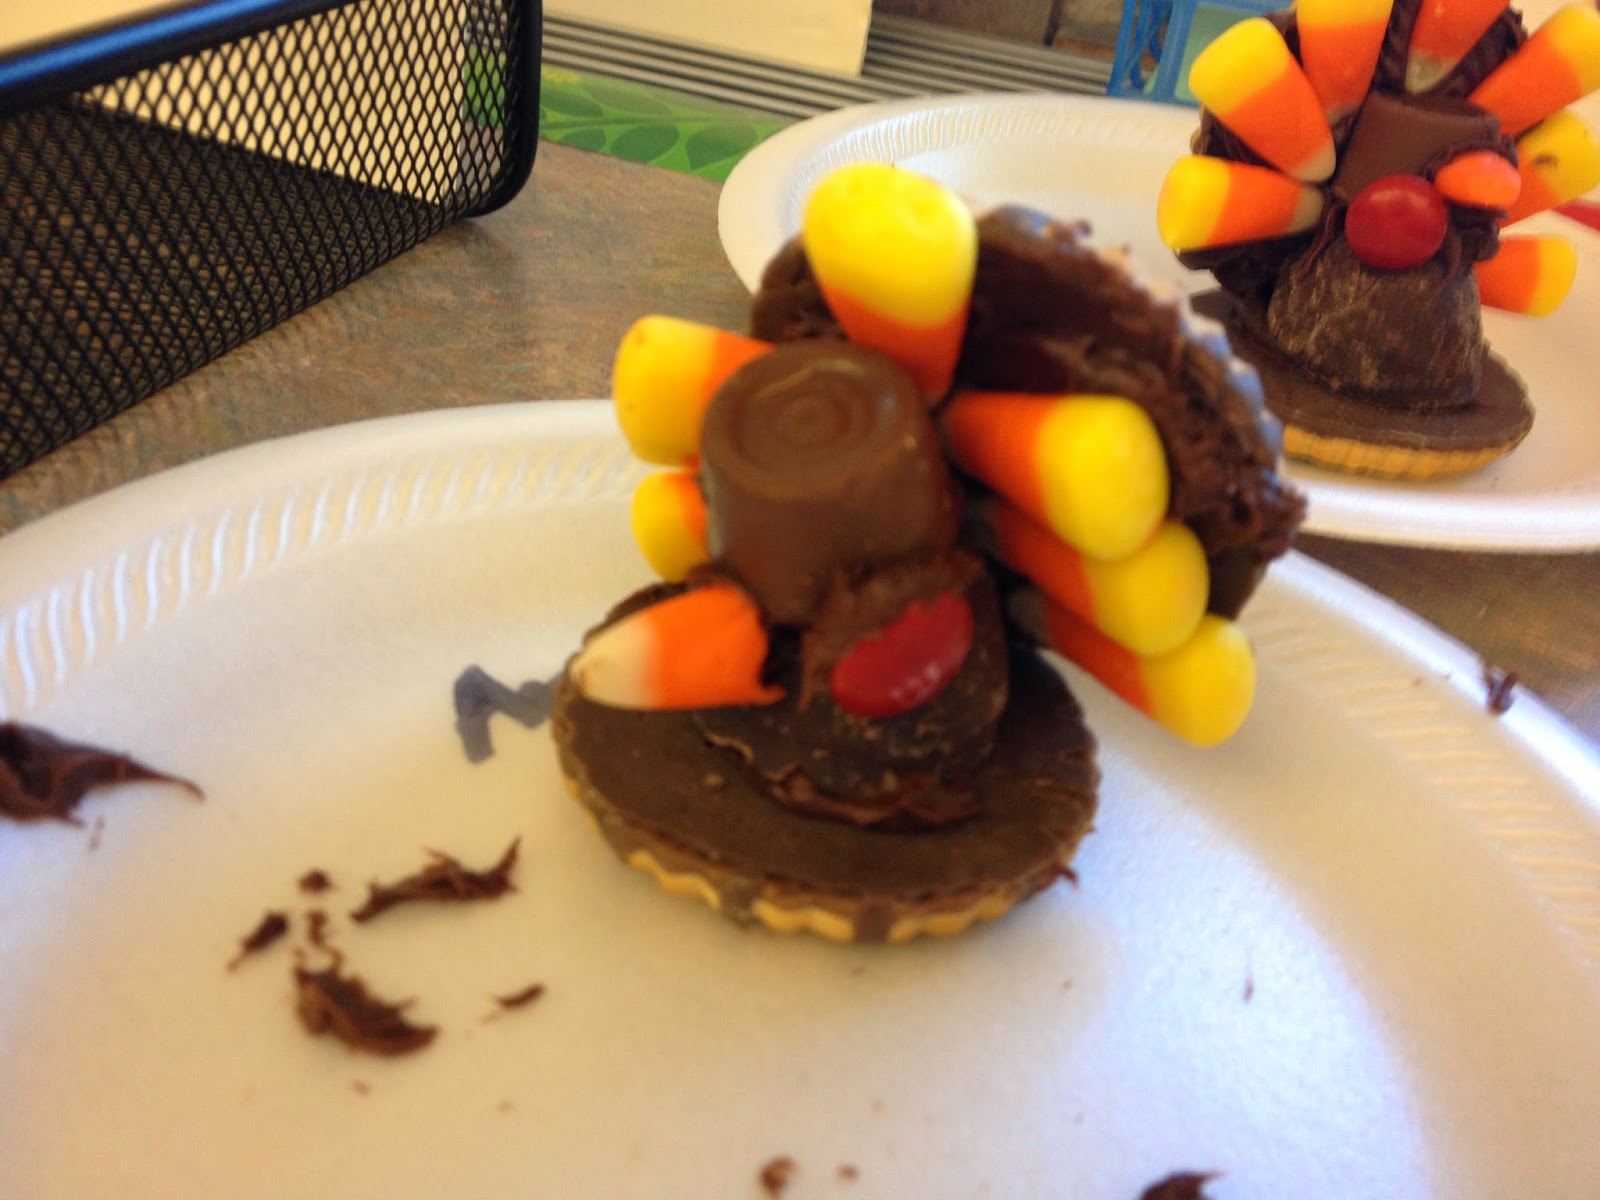
One other super fun turkey activity we do is make edible turkeys!
We use two fudge-striped cookies (one for the top and one for the back); one cherry cordial; one rolo; 5(ish) candy corn (mine are always whatever is leftover after Halloween!); a candy corn for the beak, one red skittle or M&M  for the waddle, and a lot of chocolate frosting!

My students take them home (too much sugar for school!) but they are so cute, they are hard to eat!!


Hope your are having a wonderful day!!
Sarah