I
will be the first to admit that I LOVE cute… I love when things match… I love
using colors to code EVERYTHING… I love
when things just work like magic… but most of all, I love when SIMPLE things
increase engagement, and therefore help my students.
I
have a pretty fantastic collection of tools I use for Guided Reading
groups. Every class, and even every small
group, responds differently to the “tools”.
So some years, I use a variety, and some years I stick with one or two that
are best. You don’t need me to tell you
what ever good teacher knows- teaching is all about responding to the needs of
my students.
I
will go through each and give you some ideas for how I use them. Most of the items are from the Dollar
Store. (My friend Jean likes to tease me
that I am the “Queen of the Dollar Store”- I almost named my blog that, but
decided against it at the last second.)
This
post will be all about the tools I use during small group sessions, but it’s
not really about how to run small reading groups. I will tackle that topic another day!
Let me start by telling you about my shelves… They were donated by a craft store that was going
out of business. It is really meant to
be turned the other way, and was twice as thick, but the back was hollow. Thankfully, my brother helped me cut off the
extra wood from the back, and then I sanded and painted it. These baskets from the dollar
store fit PERFECTLY! It was a match made in Heaven!
Basic
supplies:
First
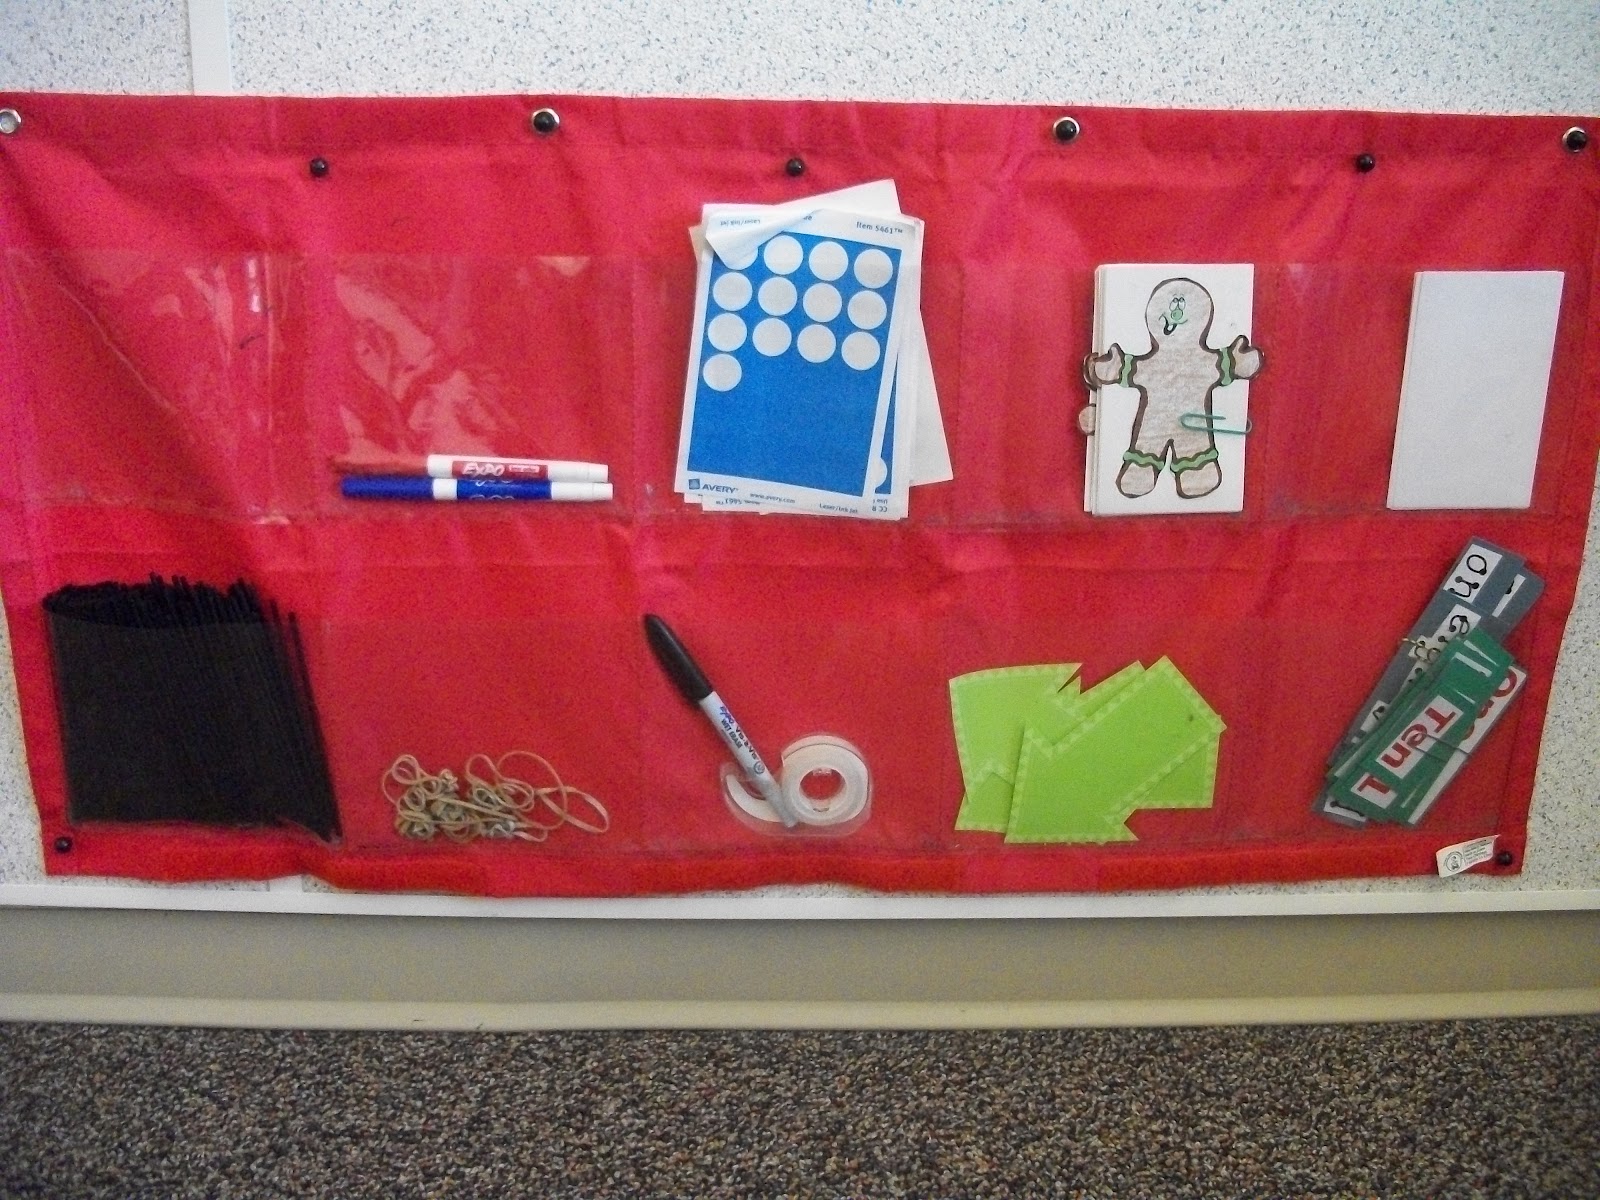
I have a caddy that holds some basic supplies that I like to have handy. Things like markers, a stack of index cards,
dot stickers, pens, pencils, and sticky notes. (I also have these fun spinners-
some are from Lakeshore and some are from Dollar Tree.)
I use a LOT of index cards. For each book we read, I pick out select vocabulary and write it on cards. (Sometimes they are sight words, harder decodable words, unfamiliar vocabulary, or just interesting words like homophones, etc.) It allows me to pre-teach the words. We play different games with them- I will share some of those later! :)
I
use the markers for many different things-- but especially for writing the focus words from their Leveled Reader on index cards.

 I
use the colored dot stickers to help my students know what Guided Reading Level
they are on… These are fancy pre-printed labels from Scholastic.
These spinners are such an easy, and quick way to engage your students! Who doesn't love to flick a spinner and answer a question? I know I sure do! :)
Highlighters,
sticky notes, pens, pencils, all that fun stuff!
Sight
words
These
are sight words sets, bound together.
Honestly, I did not make these myself, they were given to me. I have another set that I made, I will show
you later. J
These are great because they are leveled (in order of difficulty- I don't just have the 100 first grade words) and they stay together really well!
Pointers!
Oh,
goodness! I could write and write and write about pointers! So many options! So
much room for creativity! And, just by giving your student a pointer, you will
instantly increase the engagement of your lesson- but don’t forget to set up your behavior expectations before giving
them out! J Otherwise, they are just a
toy and you will be frustrated!
Any time
that you want your students to read- word lists, phrases, books- you can let
them use a pointer… I do not ALWAYS let
them use a pointer. Occasionally I will
use it as an incentive- the first group that is ready- or any group that has
100% of their members that completed their homework. And sometimes it’s just nice to mix it
up!
These first pointers are just
wands I got at a party store. Guess what?! Even the boys like to have a
magic wand... sometimes more than the girls! J
These are assorted drink
stirs. I have a variety. (I never pay full price for them- right now is
the perfect time to find them on clearance- look in the summer clearance
section). You can also get them fairly inexpensively at party or dollar stores.
J
Finger puppets and witch (or monster) fingers are major favorites!
I like these for my lowest students—you know the kids that NEED to point
as they read, but just seem to forget?
Magically, just putting something on their finger helps them to remember
to point!
They all fit into one of
these baskets!
Word Stretchers!
Take a slinky, hold it with two hands. As you stretch out the slinky, also stretch out a word. For example “cat” would be “cc-aa-tt”. This is a great, tactile way for students to start phoneme segmentation. These are only used for my lowest students—our Kindergarten teachers are FABULOUS and most of my students come in masterfully segmenting words (i.e. “cat” as “/c/-/a/-/t/”). However I have students that move in each year, and it never fails that one or two don’t have the phonetic skills necessary for First Grade. This is a great (and inexpensive tool) to practice with! (Want to guess where I got them? If you said the Dollar Store- you deserve a gold star!) J
Mirrors

If
you have an ESL population in your area, you are likely well aware of how challenging
the short vowel sounds of “e” and “I” are for them to distinguish. One way I help my students understand is by
giving them a mirror. They watch their
mouths as they say the sound in isolation “/e-e-e-e-e-e/” and “/i-i-i-i-i/”. Then we say cvc words with either /e/ or /i/
and they watch their mouths to see if they can identify which letter spells the
sound they hear. It’s fun for them-
because kids are always interested in watching themselves talk- and they really
start to think about how they look- and more importantly how it FEELS to say
each sound. After a few practices, we
put the mirrors down and just focus on how it feels. Then we identify the letter by the sound and
how our mouth feels. It’s pretty great! (I got my mirrors at a craft store- I found 30
mirrors for $4.00 on sale- I keep a few in my Guided Reading supplies. The rest of the set gets borrowed by other
teachers when they are working on self-portraits!)
Frogs and Lizards?
Yes!
I’m partial to the frogs (my classroom theme for the first few years that I
taught was all frog, so I am slightly partial to the little guys!) but the
lizards are fun, too.
We
play a game called “Hop and Read”. It
works best if you have a table of words that you want your students to
read. They literally use their little
frog (or lizard) to read the word and then hop on it. My rule is that you have to read the word before you land on it! (One of my former colleagues had them read it
after they landed on it- it works either way!)
I have
some word mats that have word families on them but most of the time we use our
5 weekly sight words. Here’s an example of what the chart might look like
(super simple!)
the
|
me
|
I
|
am
|
as
|
as
|
the
|
me
|
I
|
am
|
am
|
as
|
the
|
me
|
I
|
I
|
am
|
as
|
the
|
me
|
me
|
I
|
am
|
as
|
the
|
If you are interested in word
families, my favorite resource is Mrs. Alphabet’s website! http://mrsalphabet.com/ (Look under “classroom”
and then “Word Families”).
Sight Word Strips
Sight
words are like basic math facts. You
just have to master them! So I try and
give my students LOTS of opportunities for practice—but I like to have a
variety of ways so that my students are willing to practice repeatedly. J (Everything is a “game” in
my class!)
These
are very similar- just using two different word lists. Here’s how we “play” with these:
Each
student in the group is given a list. At
the same time, they read their words out loud.
(I choose a different student to listen to each “round”- they never know
when or if I am listening to them. They think I am magic and am listening to
all of them- which I am, but I focus on one at a time to check for
accuracy.) When they are done- or almost
done- I say “dun, duh-duh-dun-dun” and they say “dun-dun!” and pass their strip
to the next person and start again! No
one “wins” this game, but they never seem to notice. They also know that if they finish the list,
they start it again. (Some of my high
kids really like to see if they can read it twice before I signal- my lowest
little guys are just as excited when they finish the list!).
It’s
easy to differentiate because the word lists are numbered. Super easy to make- super fun to play!
Comprehension Sticks
These
sticks have different comprehension questions.
Each student draws one and reads it. (Some questions are answered BEFORE
reading, some are DURING, and others are AFTER.
With training, they can quickly identify when they will need to answer
their question.)
They
are already things you would discuss, but simply allowing your students to
choose will automatically increase their engagement level.
Comprehension Lollipops
One
of the teachers on my team, Cheryl, made these for us last summer. They are great! They work the same way as the
sticks, but they are even cuter!
Yuck!
Take
the sight words you have already learned and write them on cards. Add in a few cards that say “Yuck!” and mix
them into the sight words. Each student
takes a turn, draws a card, and reads it.
If they read it correctly, they keep it. IF, however, they draw a “Yuck!” card, they
have to give back all of their cards!
My
lowest group usually spells it after they read it. (“My word is “the- t-h-e- the”)
My
high group has to use the sight word in a sentence (“the- The cat chased a
mouse.”)—This helps with homophones! (Like to, too, and two!)
Word Family Sticks
I
simply printed word families, cut them out, and covered them with some clear
box tape. Students add a letter (they
can write it right on the stick with a low-odor whiteboard marker) to build
words. Usually I have them write a list
of all the words they came up with on a whiteboard or recording sheet.
I
also have letter dice- sometimes they roll a letter and see if they make a real
word or a nonsense word. (When we do it that way, they record it on a t-chart).
I will share more nonsense word games another day!!
(This
is a great small group activity that the kids can do independently while you do
testing, or a running record, etc.) Eventually, I turn it into a center.
Word Detectives!
So
many things can be done with these little magnifying glasses! (I got mine at the Dollar Store—I am sure
that, by now, you are SHOCKED by that information!) J
·
Find
word with __.
·
Identify
the sight word __.
·
Read
the sentence.
·
Read
the list of words (another great tool you can use with the sight word chart I
showed about above!)
Tactile Letters
I am
a very tactile learner, which translates into me being a very tactile teacher.
I am always looking for new and great ways to incorporate learning styles in my
teaching.
These
sandpaper letters are perfect for your tactile learners. They can trace them with their fingers. (I do
this with my lowest students- and with any of my students that have fine motor
struggles- in First Grade it’s often most-noticeable in handwriting and scissor
activities.)
These
are commercially made. They were a great
thing I inherited from my mom. J (Have I mentioned how awesome it is to have
teachers in the family?) I have seen other teachers make their own with hot
glue dots. That is totally something I would
do! J
We do
dictation and written responses pretty regularly during small groups. We have regular whiteboards in my classroom,
but for Guided Reading, I prefer to use one of two options.
A
glossy page protector with a piece of cardstock inside is literally the most
inexpensive whiteboard equivalent EVER.
TIP: USE LOW-ODOR markers. (Right
now I have the BIC markers because they were a great back-to-school sale deal
and they have been working really well!)
These
are awesome. Every year at the UEA
Convention (Utah’s Education Association Convention) they hand out a sample
magnetic board. Well, after a few years
of going, I have a set for my small groups. (I am lucky because usually my friends that go
with me give me theirs, too! Now that I have a set, we’ll start collecting a
set for them, too!) The boards are really not that expensive, so you could just
buy a set J I just had so many from
before I started teaching that it made sense to continue my collection.
Whew! That
was quite a post!
And
I didn’t cover all of the games and poems I use!
We’ll
have to save that for another day!